Working With Images
Note: Most users do not have access to this functionality and will need to request
images be uploaded and/or managed by a member of the Web team. The content on this
webpage applies to an elevated permission level in Modern Campus CMS.
How to Replace Images
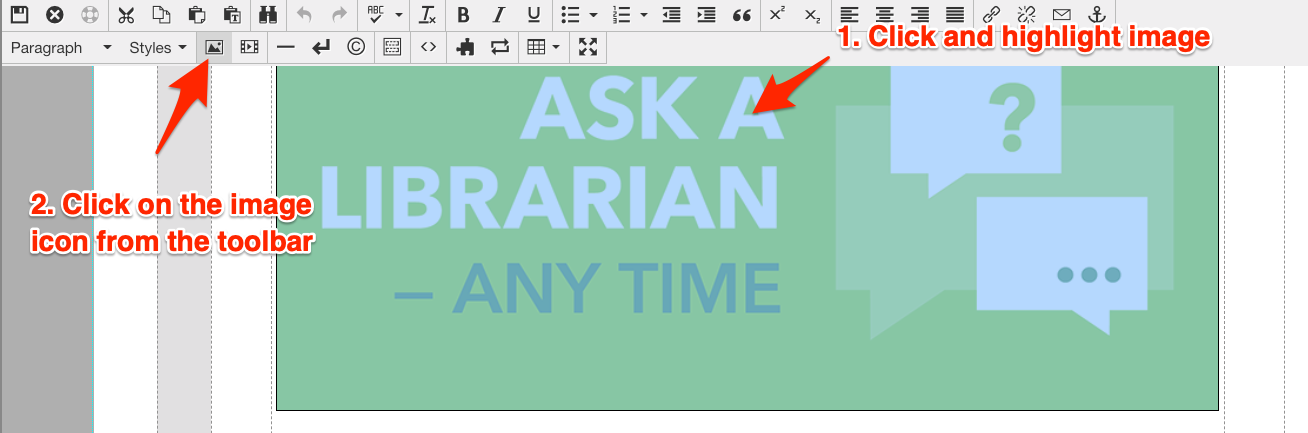
- Enter the WYSIWYG Editor.
- Once in the editor, click on the image you wish to replace which will highlight the image.
-
With the image still highlighted, click on the image icon in the toolbar. This will open the Insert/Edit Image Modal.
- Click the button with a folder and magnifying glass icon (to the right of the Source Field)
- Using the folder structure in the directory on the left, navigate to the images folder that contains the image you wish to add. Note that you will automatically be in the images folder of the current image.
- Click on the name of the image you wish to add and then click the blue insert link.
- The dependency tag for the new photo will now be listed in the Source Field.
- In the decorative field, add a description of what the photo includes. If the photo does not communicate any information, check the box next to decorative.
-
Make sure that next to class, "IMG | Responsive" is selected from the dropdown (this ensures the image appears correctly on all devices).
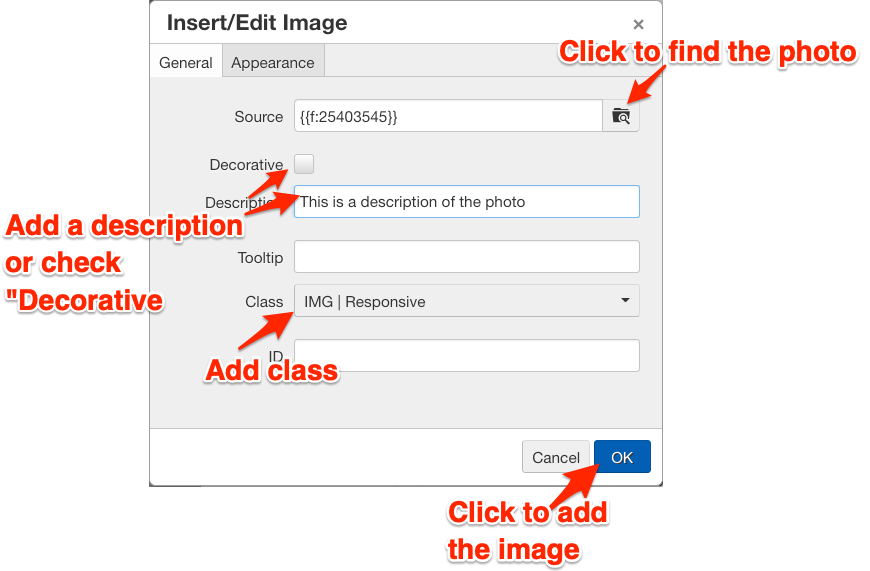
- Click the blue “Ok” button.
- The new image should now be placed on your page.
Note: Working with images is only available to select Content Contibutors. If you are interested in being trained to replace images on your site, please contact the Web Office.